Esse conteúdo foi útil?
Como poderíamos tornar este artigo mais útil?
Conectar o Lyve Mobile Array
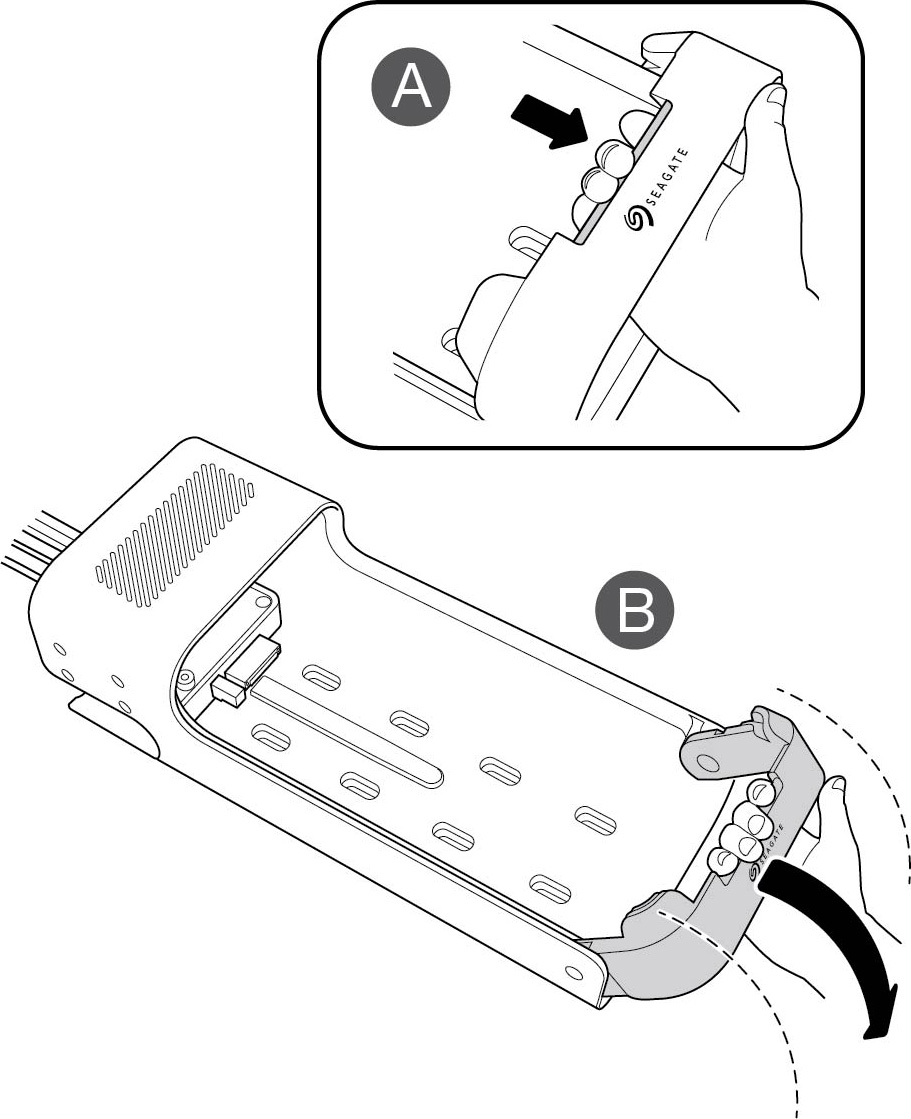
Etapa 1 - Soltar a alavanca
Pressione o botão de liberação verde e puxe a alavanca para baixo.

Etapa 2 - Inserir o dispositivo
Insira o Lyve Mobile Array com as portas viradas para o PCIe Adapter. Deslize o Mobile Array em direção à traseira de montagem. Aplique pressão firme até encaixar o Mobile Array no PCIe Adapter.
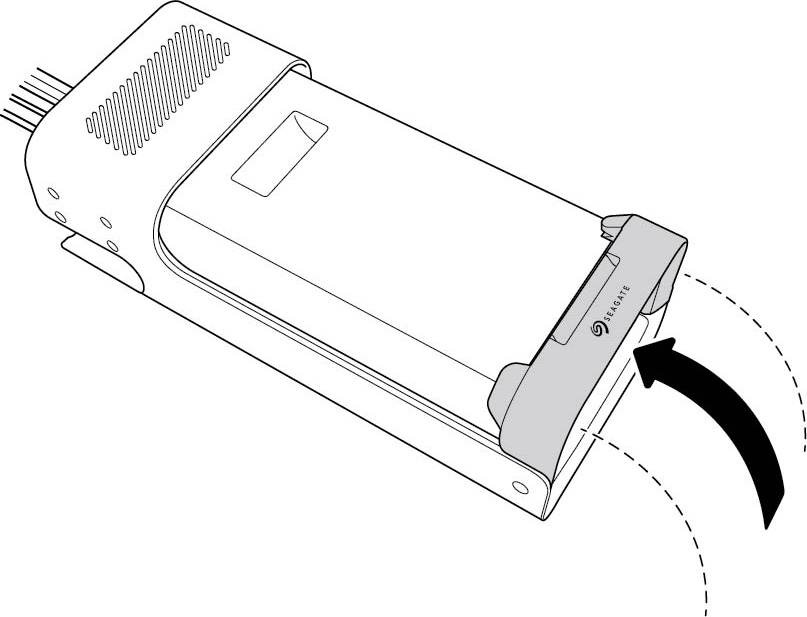
Etapa 3 - Bloqueie o dispositivo no lugar
Levante a alavanca e trave-a no lugar.

Etapa 4 - Desbloquear o dispositivo
O LED no dispositivo inserido no Lyve Mobile Mount pisca em branco durante o processo de inicialização e fica aceso em laranja. A cor laranja do LED sem piscar indica que o dispositivo está pronto para ser desbloqueado.
Certifique-se de que o aplicativo Lyve Client esteja em execução no computador host. O computador host desbloqueará o dispositivo automaticamente, se já tiver sido conectado a ele e ainda estiver autorizado para segurança. Se o computador host nunca tiver desbloqueado o dispositivo, você deverá inserir seu nome de usuário e senha do Lyve Management Portal no aplicativo Lyve Client. Consulte Requisitos de configuração.
Uma vez que o Lyve Client tenha validado as permissões para o dispositivo conectado ao computador, o LED no dispositivo acenderá em verde. O dispositivo está desbloqueado e pronto para uso.
Como remover um dispositivo com segurança
Seu computador deve realizar operações de arquivamento e limpeza no dispositivo Lyve antes de ele ser removido fisicamente do Lyve Mobile Mount. Para evitar corrupção ou danos a arquivos, sempre ejete os volumes do dispositivo do seu computador antes de remover fisicamente o dispositivo.
Para evitar lesões na coluna ou estiramento muscular, use técnicas apropriadas de levantamento ao remover dispositivos do Lyve Mobile Mount.