This procedure will explain how to create a VMware NFS Datastore with the Business Storage Windows Server Network-Attached Storage device.
Add the "Server for NFS" Role
- Open the Server Manager and go to Configure this local server, then Add Roles and Features.
- Select Next until you reach Server Roles.
- Under File and Storage Services / File and iSCSI Services, select Server for NFS.
- Select Next to install Server for NFS.
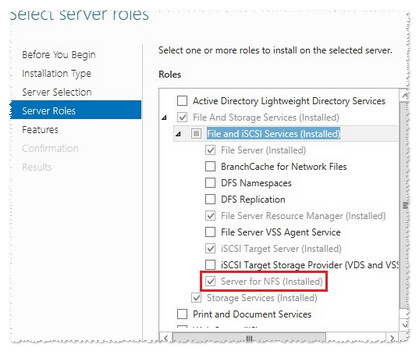
Create a share and set the NFS permissions
- In the Server Manager, open File and Storage Services, then select Shares.
- Select Task, then New Share.
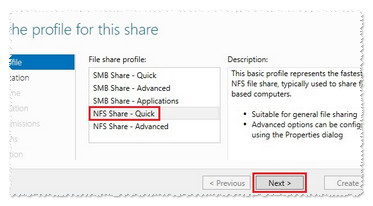
- Select NFS Share - Quick, then select Next.
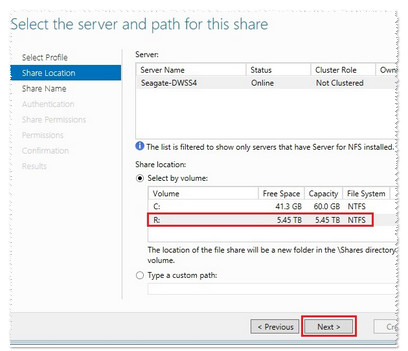
- Select a Share location, then Next.
Note: It is not recommended to choose the C: drive for shares. In this example we will choose the RAID volume.
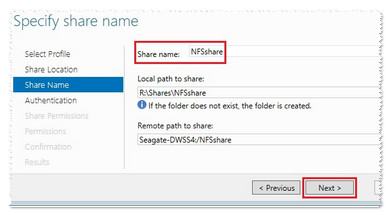
- Specify a share name and select Next.
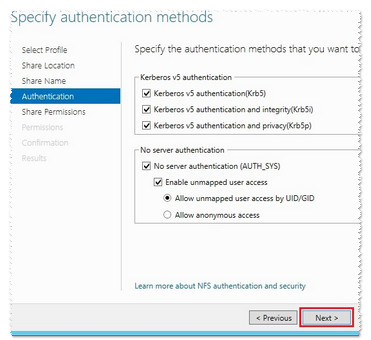
- Specify authentication methods and select Next.
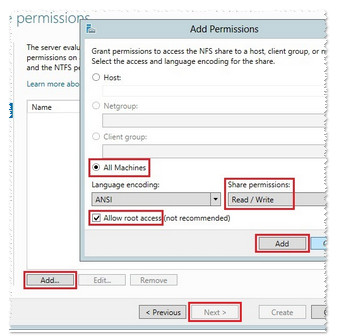
- Specify share permissions and select Add.
- Select All Machines, Allow root access, and for Share permissions, select Read / Write.
- Select Add, then Next.
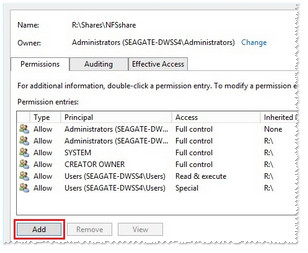
Specify permissions to control access
- Select Customize permissions, then Add.
- Choose Select a principal.
- Under Enter the object name, enter Everyone, then select Check Names, then OK.
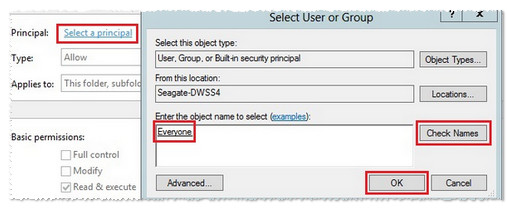
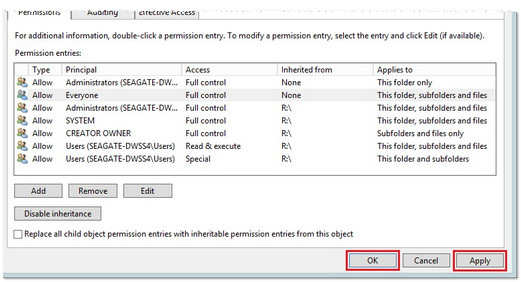
For Basic permissions, check the Full control box, select Modify, then OK.

For Advanced Security Settings for NFSshare, select Apply and OK.
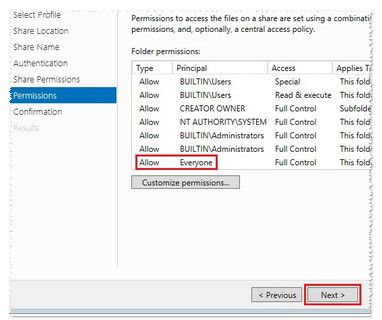
- For Permissions to control access, select Next.
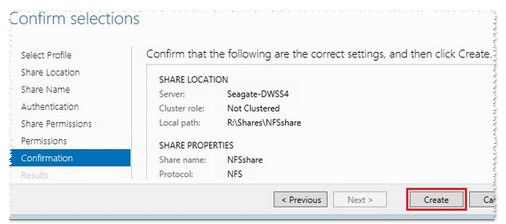
- Confirm Selections and select Create.
- When the NFS Share has been successfully created, select Close.
- Add the NFS Share as a VMware Datastore using the vSphere client.
Note: A New vSwitch for NFS Network Traffic may need to be created in advance of the following steps. Consult VMware documentation as needed. - Open the vSphere Client and log in.
- From the Home page choose Inventory.
- Select the Configuration tab, then Storage on the left.
- Select Add Storage on the top right.

- Select Network File System (NFS), then select Next.

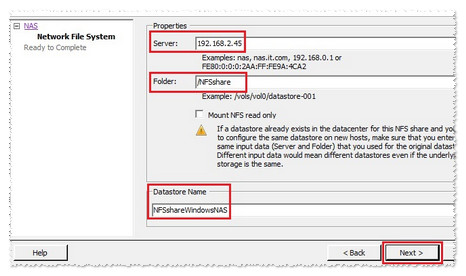
- For the Server: Enter the Seagate Windows NAS IP Address.
- For Folder: Enter in the "/share name".
Add a Datastore Name and select Next.
- Review the Summary and select Finish.
The share was successfully added as a NFS Datastore.

Note: The basic settings used to create the NFS share and the VMware Datastore are for example only and may differ in the field.


