Was this content helpful?
How could we make this article more helpful?
Lyve Cloud with LucidLink
In this section, you will learn how to configure Lyve Cloud to LucidLink.
Prerequisites
- A Lyve Cloud Storage Account
- Permission with All Operations
- Install the LucidLink client application
Configuration overview
The Lyve Cloud configuration with LucidLink is divided into three simple tasks:
- Create a Lyve Cloud Service Account. For more information, see Provisioning Storage Buckets.
- Create a filespace domain in LucidLink.
- Initialize your filespace to connect with your Lyve Cloud storage account.
Create a LucidLink Filespace Domain to Lyve Cloud
To create a Lucidlink filespace domain:
- Register and create an account to access LucidLink on LucidLink.com.
- Login and create your Domain name.
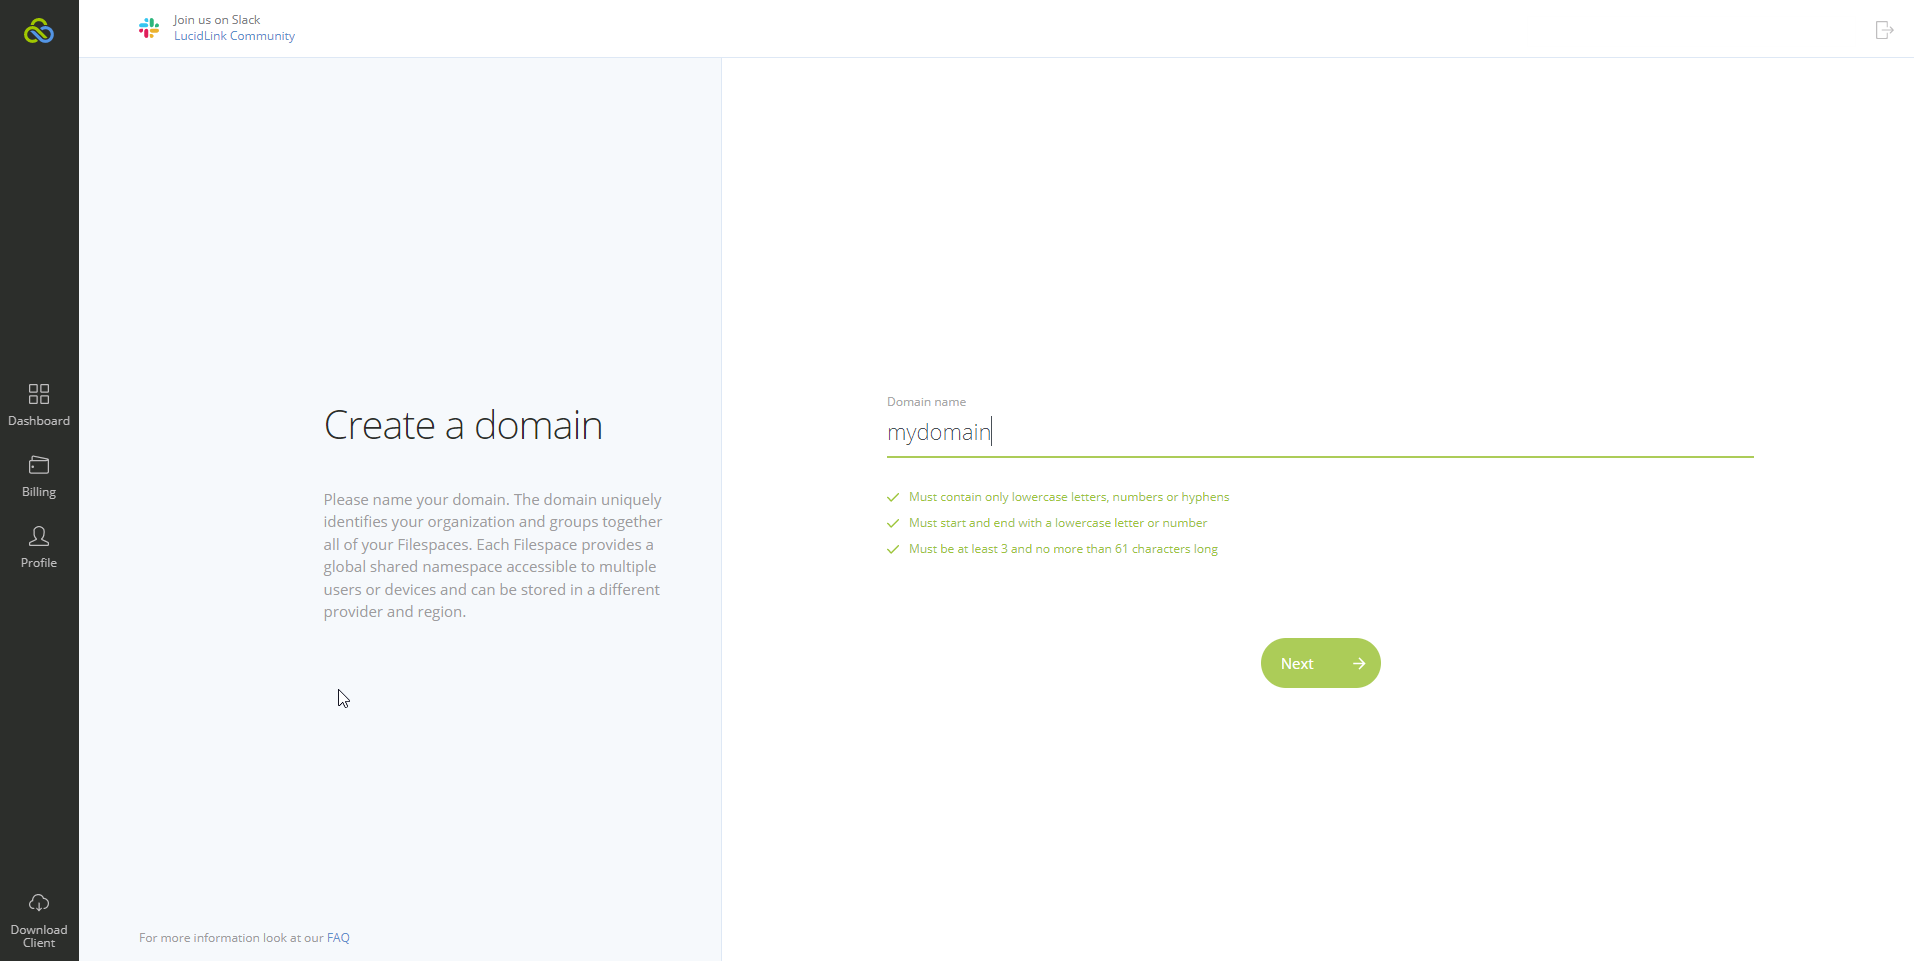
Note—The domain is the suffix applied to all your Filespace using the filespace.domain format.
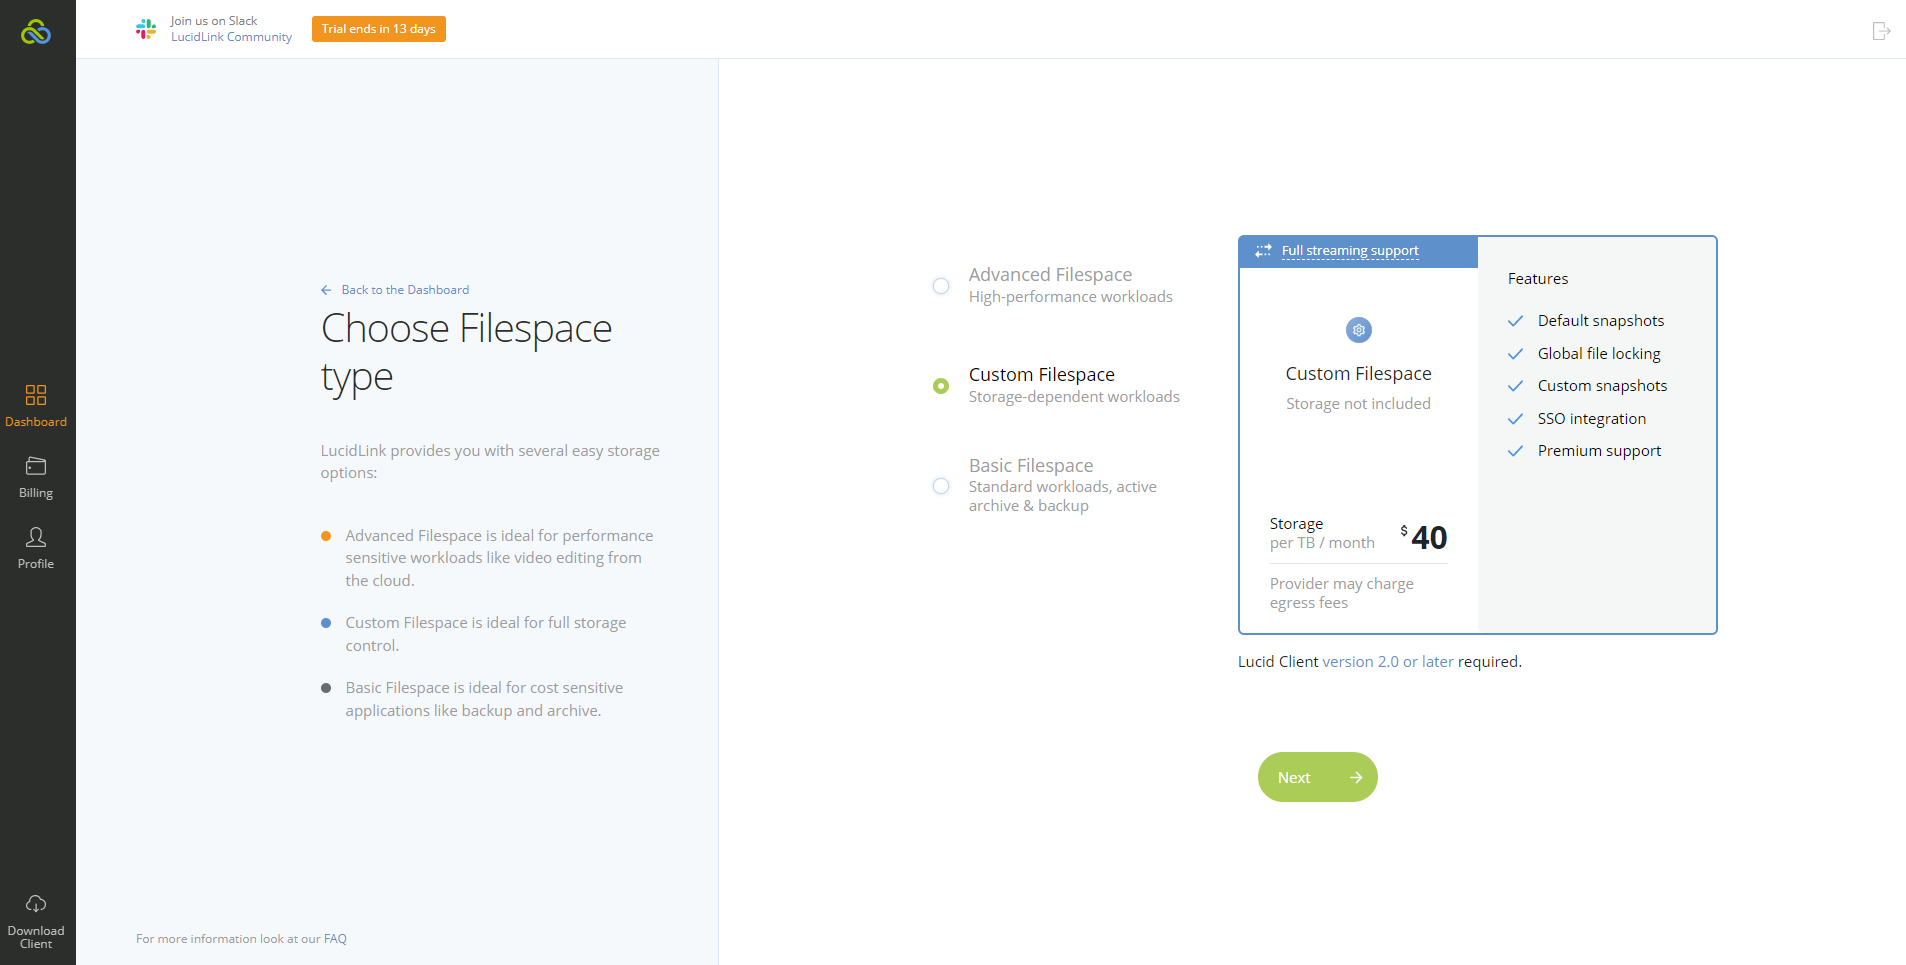
- Select Create a new Filespace, from the domain dashboard.
- Choose Custom Filespace for storage-dependent workloads and select Next.
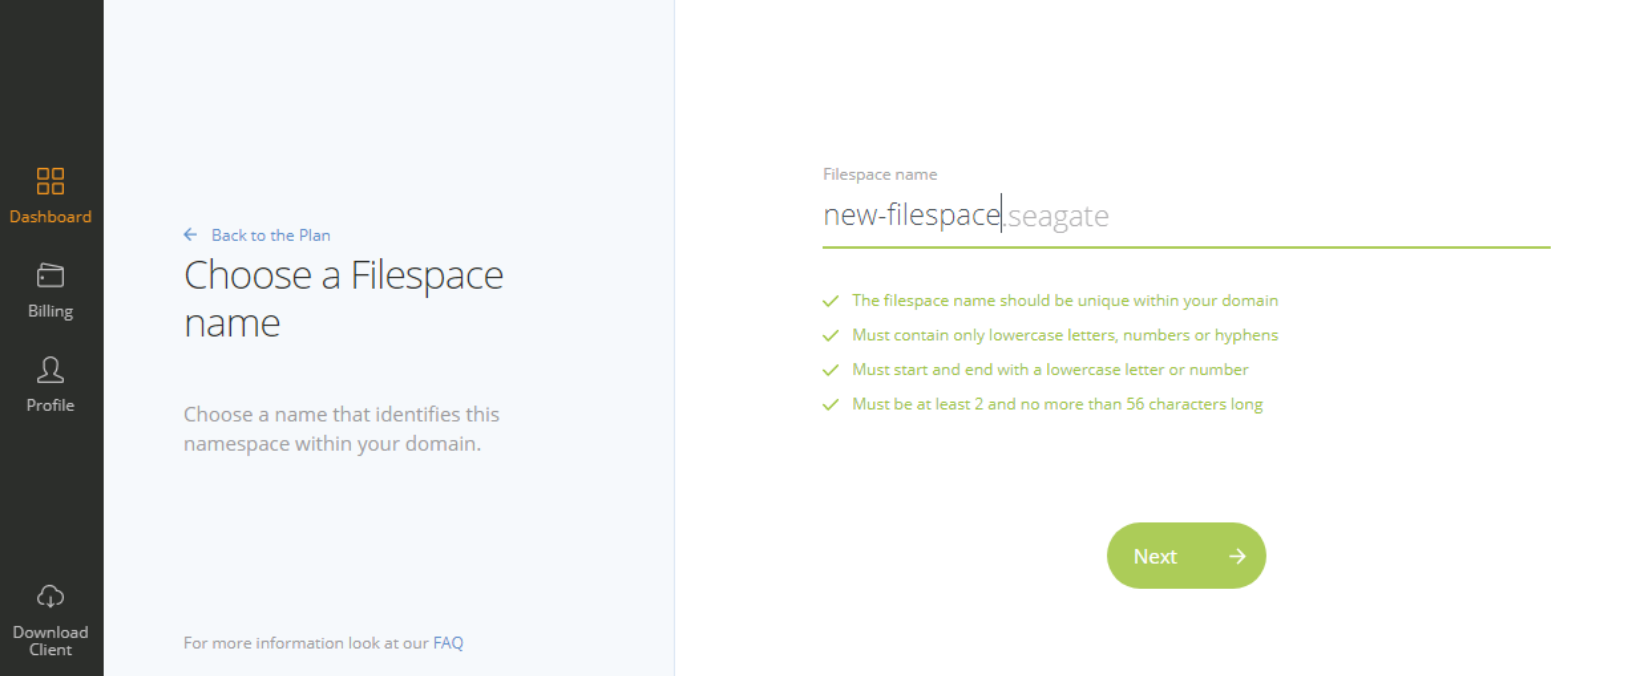
- Enter the name of your Filespace and select Next. The name of the Filespace must be unique.
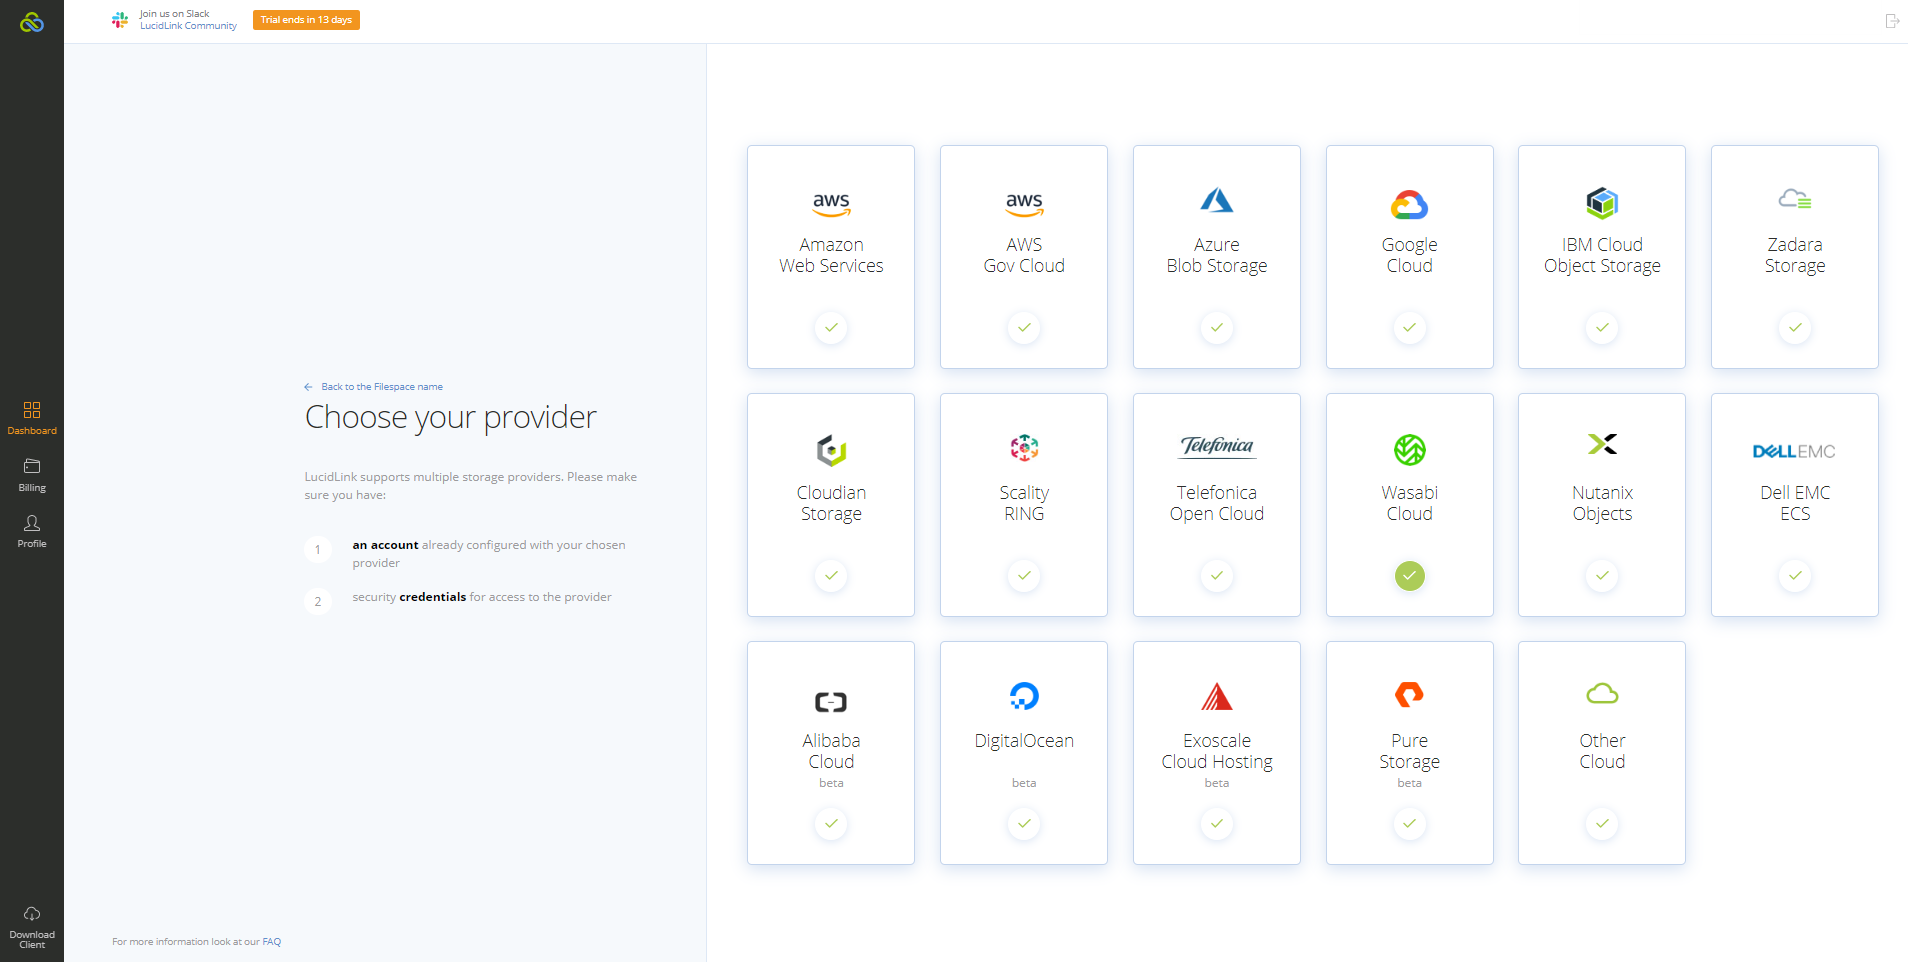
- Select Other Cloud to connect to Lyve Cloud.
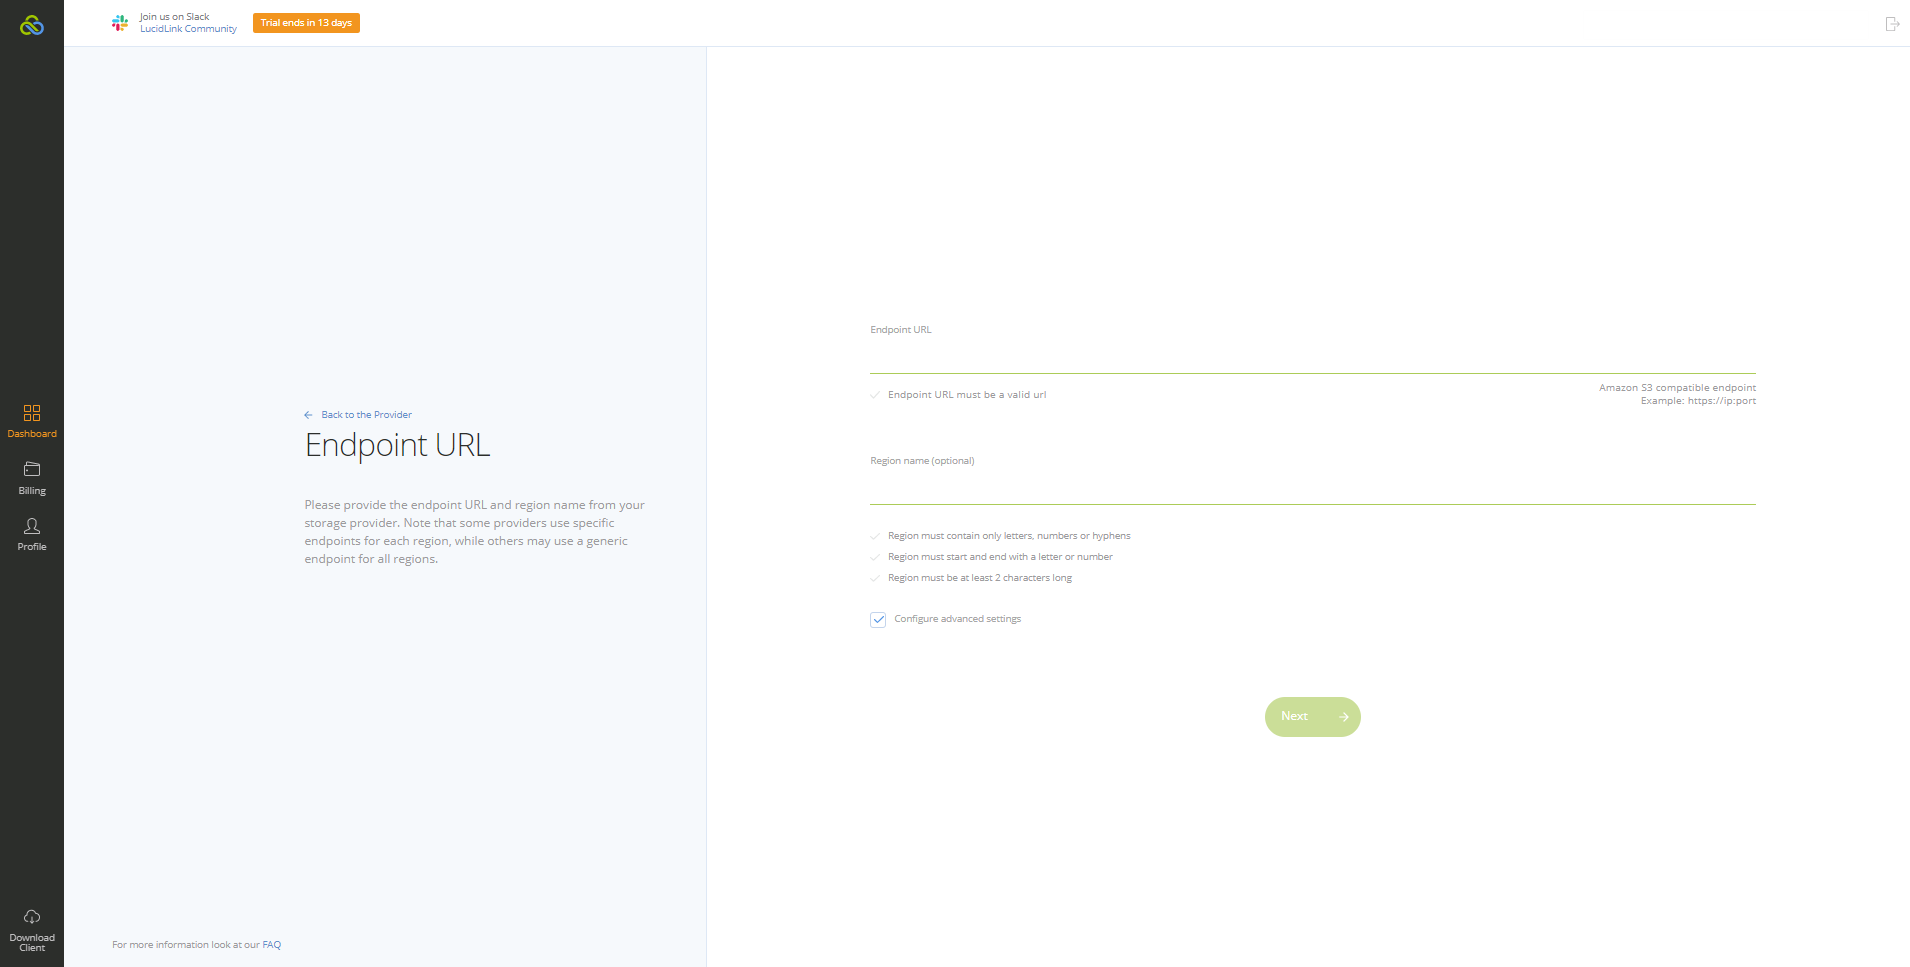
- Enter the Lyve Cloud Endpoint URL and Region name for the bucket, and then select configure advanced settings and Next to complete.
Note—Ensure the region name uses lowercase characters only, and the endpoint must end with .com and not /. For more information, see S3 API endpoints.
- In the Advanced Settings, enter your Bucket name and select the block size to allow uploading data to Lyve Cloud in chunks. We suggest a block size of 8 MB. Select Next.
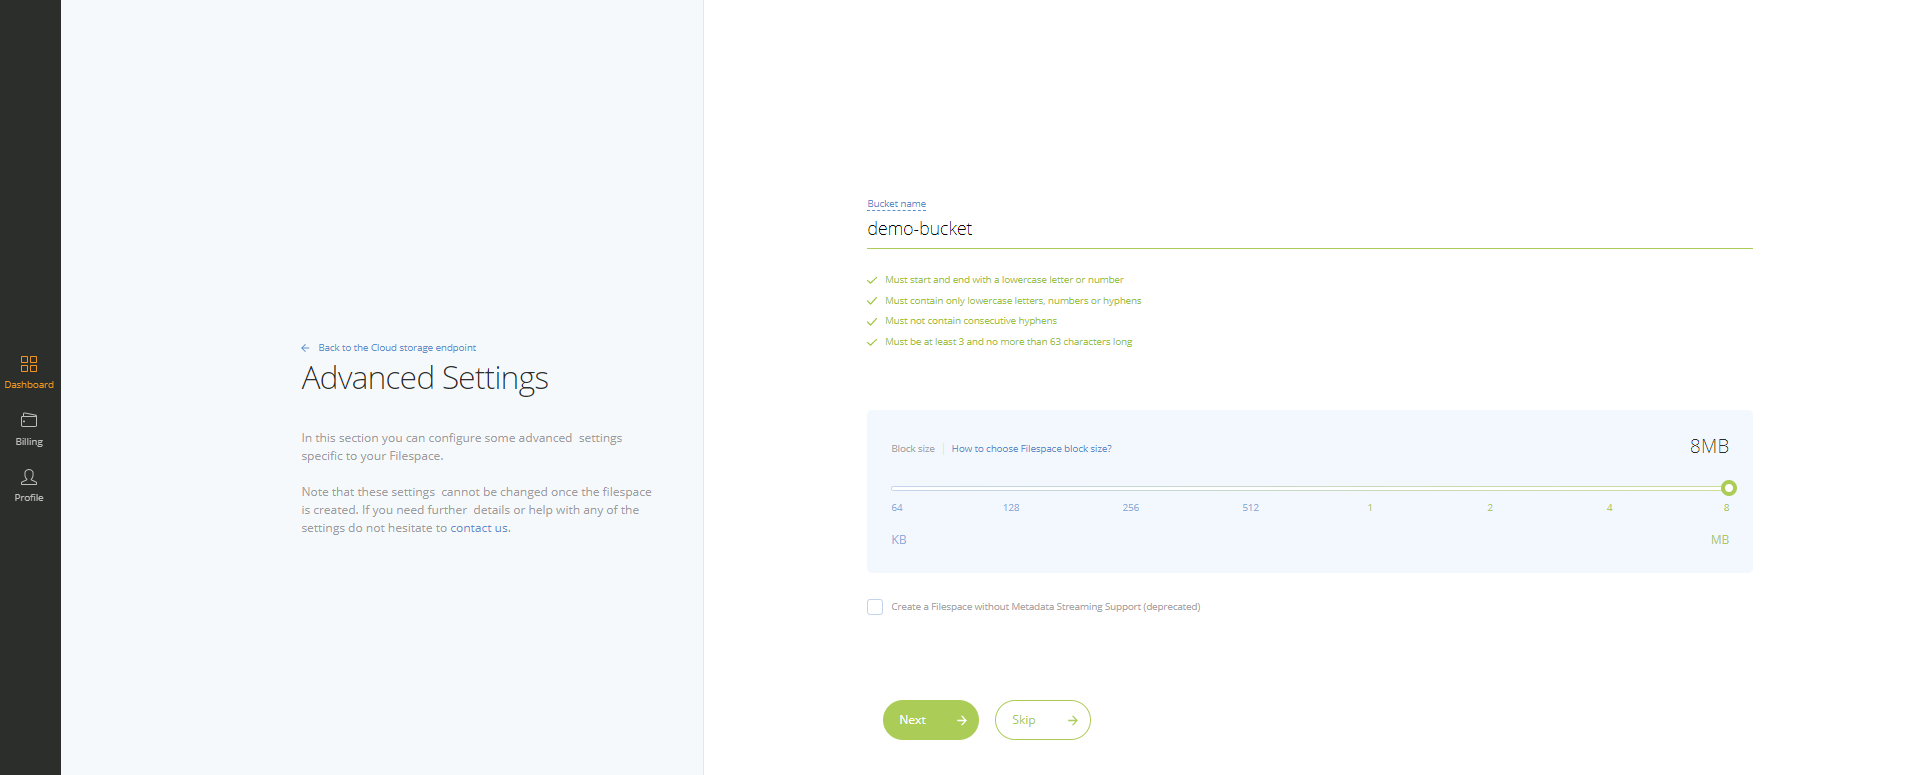
Note—The bucket name must match the bucket created in your Lyve Cloud storage account.
- Review the details and edit the fields if required, and select Create.
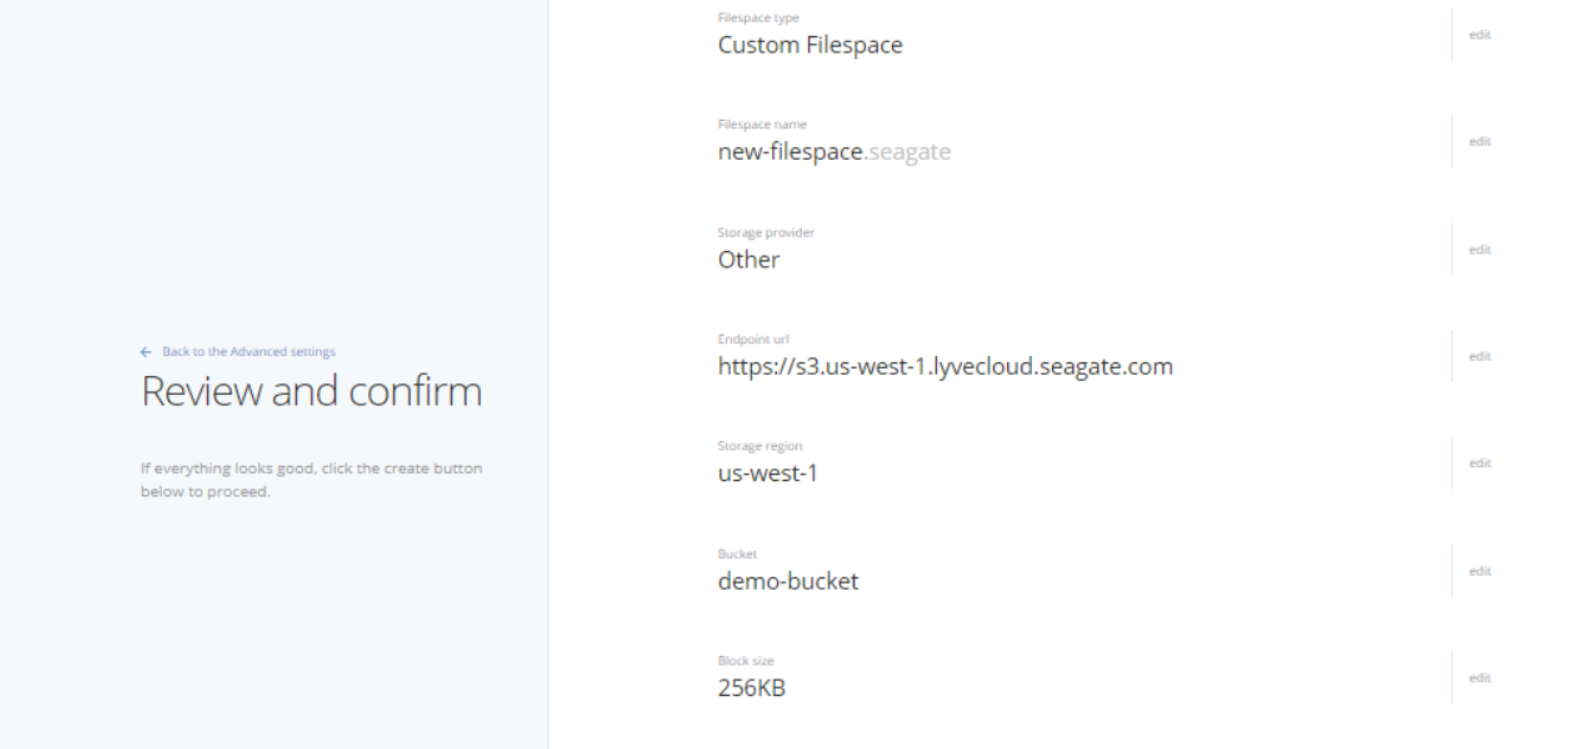
Note—Once the Filespace is created, it displays on the LucidLink Dashboard with the option to Initialize the Filespace.
- From your filespace dashboard, select Initialize to connect the Filespace with your bucket configuration to the local system.
Connecting LucidLink to Lyve Cloud
To connect Lucidlink to Lyve Cloud:
- Download the LucidLink Client Application (see Prerequisites above). Once installed, navigate to the Initialize a filespace menu and select Launch the Lucidlink desktop client.

- Enter the Lyve Cloud Access and Secret keys on the Add your cloud credentials page.

- Set root credentials and select Initialize.
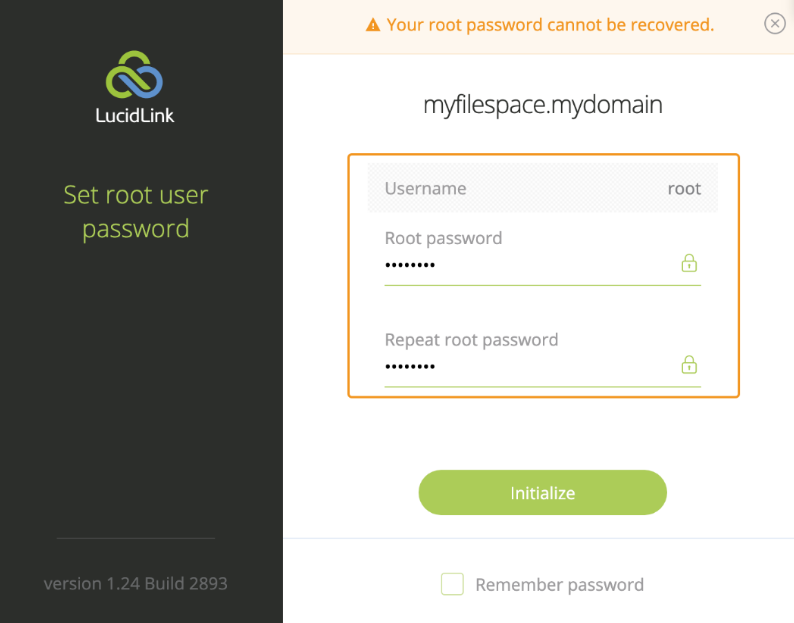
Note—The root password is required to administer your Filespace and access the encrypted data. Ensure that you save the credentials, as the root credentials cannot be retrieved later.
- Once initialized, the disk space name Lucid(L): is available on your local system. You can upload data of any size into the Lucid(L) disk, allowing the data to upload to the cloud in the block size. The block size is assigned in Advanced settings.
Connecting to the filespace from another machine
To connect the filespace from another machine:
- Launch the LucidLink client application and select Connect to another Filespace to connect to the filespace on another machine.
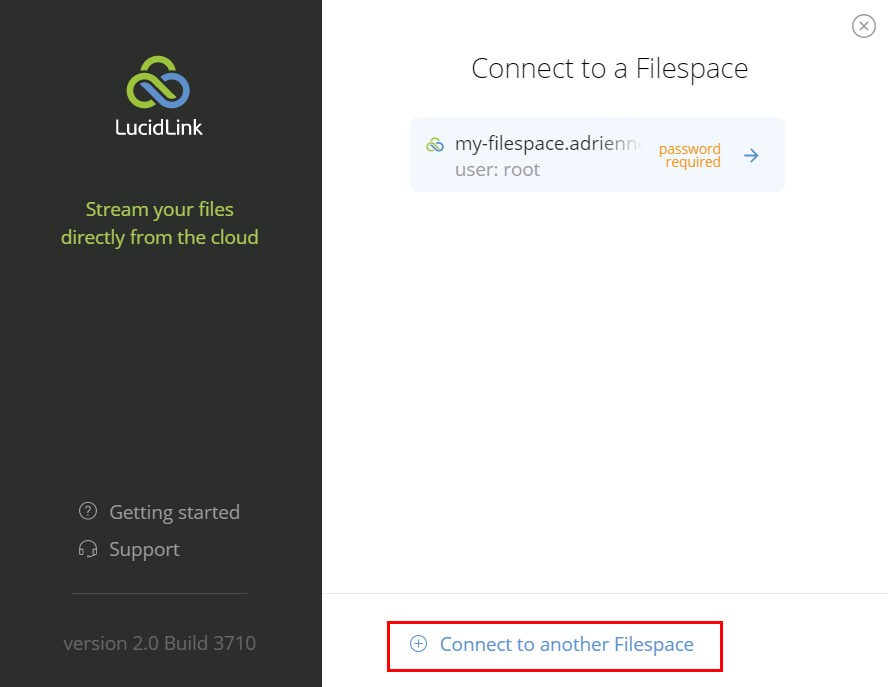
If a filespace is already connected to the machine and you want to switch the user or filespace, right-click and select Switch user or filespace, and then select Connect to another filespace.

- Enter the filespace name in filespace.domain format. Once completed, follow the steps in Connecting LucidLink to Lyve Cloud above to initialize the filespace.

- Enter the root password set while initializing the filespace.